
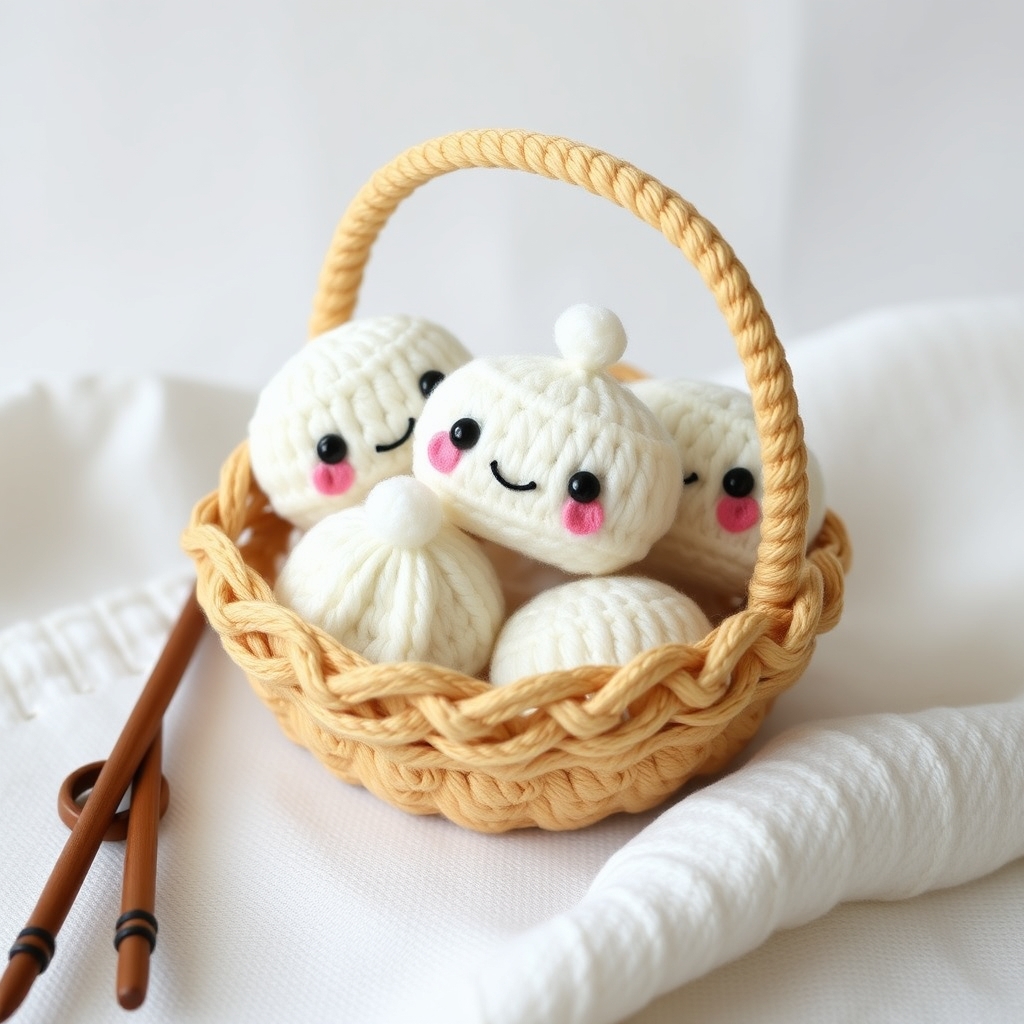
Free Perfect Fit Dumpling & Basket Amigurumi Crochet Pattern 2026
Craft your own adorable amigurumi dumpling and its matching basket with this free crochet pattern!
Welcome, fellow maker! There’s a special kind of joy that comes from bringing a cute amigurumi creation to life with your own hands. Imagine creating a sweet little dumpling that sits perfectly in its own tiny basket – a charming duo that’s not just adorable but also incredibly satisfying to make. Whether you’re looking for a delightful gift, a unique piece of home decor, or just a fun, quick project to brighten your day, this Perfect Fit Dumpling & Basket pattern is designed to be a pure pleasure from the first stitch to the last. Get ready to fall in love with your next handmade treasure!
This free amigurumi crochet pattern guides you step-by-step through creating both the cute dumpling and its perfectly sized basket. You’ll learn essential amigurumi techniques and end up with a delightful pair that’s sure to impress. It’s an ideal project for those new to amigurumi or seasoned crocheters looking for a quick and rewarding make.
Table of Contents
- Project Overview
- Materials & Tools You’ll Need
- Understanding Gauge: Why It Matters for Amigurumi
- Abbreviations & Stitches Used
- Sizing & Adjustments: Customizing Your Dumpling & Basket
- Perfect Fit Dumpling Crochet Pattern
- Perfect Fit Basket Crochet Pattern
- Finishing Touches, Blocking & Care
- Common Mistakes & Troubleshooting Your Amigurumi
- Variations & Customization Ideas
- Frequently Asked Questions
- Conclusion: Your Charming Handmade Duo Awaits!
- Skill Level: Easy. This pattern is perfect for enthusiastic beginners and offers a relaxing project for experienced crocheters.
- Time to Complete: You can expect to complete both the dumpling and its basket in approximately 2-4 hours. It’s a fantastic project for a cozy afternoon!
- Key Features: This free amigurumi crochet pattern features minimal sewing, uses beginner-friendly techniques like single crochet and increases/decreases, and results in an adorable “perfect fit” design where the dumpling nestles snugly into its basket.
- What is Gauge? Gauge refers to the number of stitches and rows per inch (or centimeter) achieved with a specific hook and yarn.
- Why it’s crucial for Amigurumi: For your Perfect Fit Dumpling & Basket, achieving the right gauge ensures a few things:
- Recommended Gauge (for reference): Approximately 4 single crochet stitches = 1 inch (2.5 cm) using your 3.5mm hook, worked tightly. Your goal is a firm, dense fabric.
- US Single Crochet (sc) = UK Double Crochet (dc)
- US Half Double Crochet (hdc) = UK Half Treble Crochet (htr)
- US Double Crochet (dc) = UK Treble Crochet (tr)
- ch: chain
- sc: single crochet
- inc: increase (2 single crochet stitches in one stitch)
- dec: decrease (single crochet 2 together – sc2tog)
- sl st: slip stitch
- st(s): stitch(es)
- MR: magic ring (also known as a magic circle)
- FO: fasten off
- BLO: back loop only
- FLO: front loop only
- Standard Size: As written, the dumpling is approximately 3 inches (7.5 cm) tall, and the basket is about 2 inches (5 cm) tall with a 3.5 inch (9 cm) diameter.
- How to make it larger: To create a bigger dumpling and basket, simply use a thicker yarn weight (e.g., aran/worsted weight for an even larger result, or even chunky yarn) and a correspondingly larger crochet hook. For example, if you use a bulky yarn, you might need a 5.0mm or 6.0mm hook.
- How to make it smaller: To make a tiny dumpling and basket, opt for a thinner yarn (e.g., sport or DK weight) and a smaller hook (e.g., 2.5mm or 3.0mm).
- Maintaining Proportions: The key to successful resizing is to keep your hook size proportional to your chosen yarn weight. Always use a hook that creates a tight fabric with your chosen yarn to prevent stuffing from showing through.
- Yarn Requirement Adjustment: Remember that changing the size will directly impact the amount of yarn you need. Larger projects will require significantly more yarn.
- Work in continuous rounds unless otherwise specified. Do not join rounds.
- Place a stitch marker in the first stitch of each round and move it up as you go.
- This pattern uses US crochet terms.
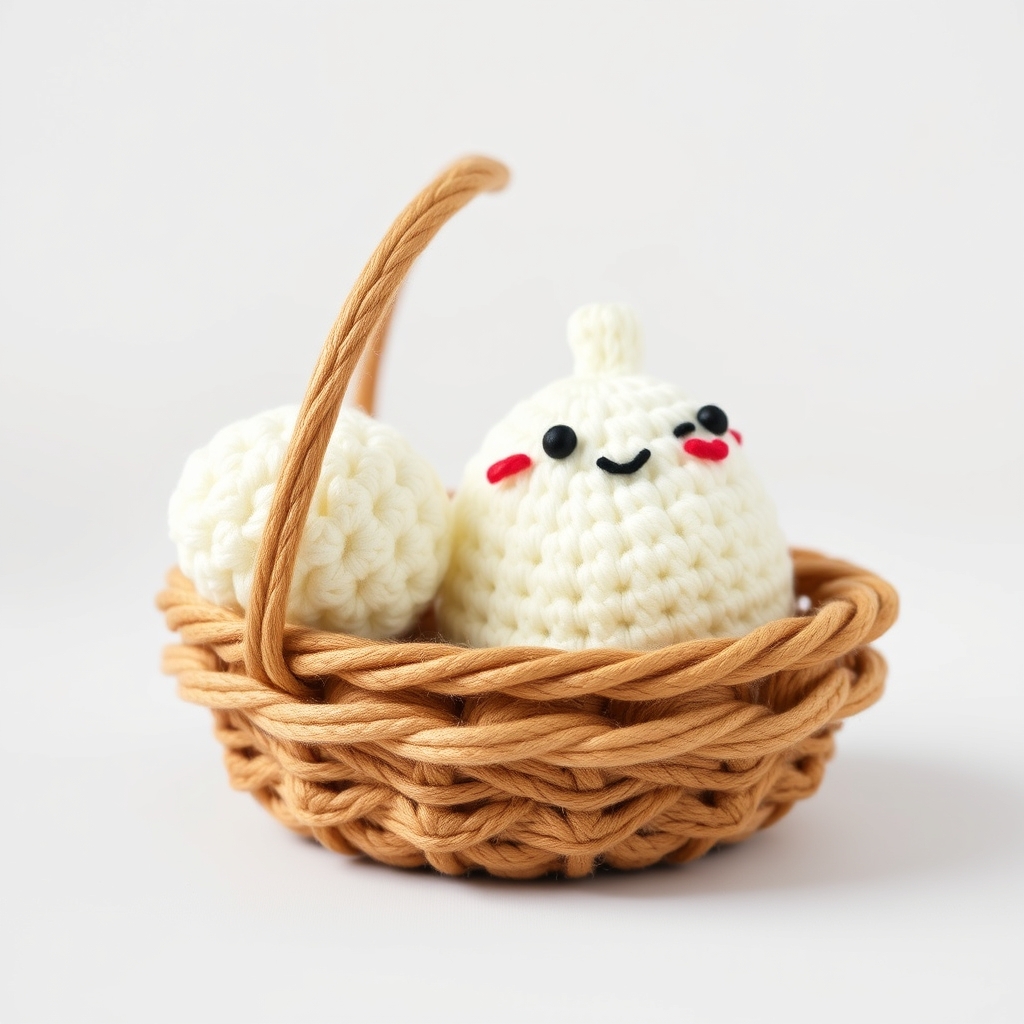
- Facial Features (Optional): If using safety eyes, attach them between Rounds 8 and 9, about 4-5 stitches apart. If embroidering, use black embroidery floss to stitch two small “V” shapes or French knots for eyes and a small curved line for a simple smile.
- Rosy Cheeks (Optional): For an extra touch of cuteness, you can use a small amount of pink blush applied with a Q-tip, or embroider small pink stitches, on either side of the face.
- Work in continuous rounds unless otherwise specified. Do not join rounds.
- Place a stitch marker in the first stitch of each round and move it up as you go.
- This pattern uses US crochet terms.
- Weaving in ends: Ensure all yarn tails are neatly and securely woven into your project. For amigurumi, push the needle through the stuffing and out a few stitches away, then snip the yarn close to the fabric, allowing the end to disappear inside.
- Blocking (Optional for Amigurumi): While not always necessary for amigurumi, blocking can be beneficial for the basket to ensure it holds its perfect circular shape. Lightly mist the basket with water, gently shape it, and let it air dry completely. Avoid blocking the dumpling, as its soft, plush shape is part of its charm.
- Care Instructions: To keep your handmade duo looking its best:
- Holes in your fabric: If you can see the stuffing peeking through, your stitches are too loose.
- Uneven stuffing: If your dumpling looks lumpy or misshapen after stuffing.
- Difficulty with the magic ring: The magic ring can be tricky for beginners.
- Counting mistakes: If your stitch count doesn’t match the pattern at the end of a round.
- Wobbly head/body (if applicable to other amigurumi): While not a major issue for this dumpling, generally, if an amigurumi piece is wobbly, it might be understuffed or joined loosely.
- Color Play: Experiment with different color combinations! A bright pink dumpling in a pastel blue basket, or a striped dumpling – the possibilities are endless.
- Facial Expressions: Give your dumpling a unique personality! Instead of simple eyes and a mouth, try sleepy eyelids, embroidered rosy cheeks, or even tiny eyebrows.
- Embellishments: Add tiny details like a small crocheted flower on the basket, a little bow tied around the dumpling, or even a tiny tag.
- Functional Basket: While cute on its own, the basket can hold small treasures! Use it on your desk for paper clips, on your nightstand for rings, or in a dollhouse as charming decor.
- Seasonal Themes: Dress up your duo for holidays! Use red and green yarn for Christmas, pastels for Easter, or orange and black for Halloween. Add tiny Santa hats, bunny ears, or witch hats.
Project Overview
Before you dive into the stitches, let’s get a clear picture of what you’ll be creating with this Perfect Fit Dumpling & Basket pattern!
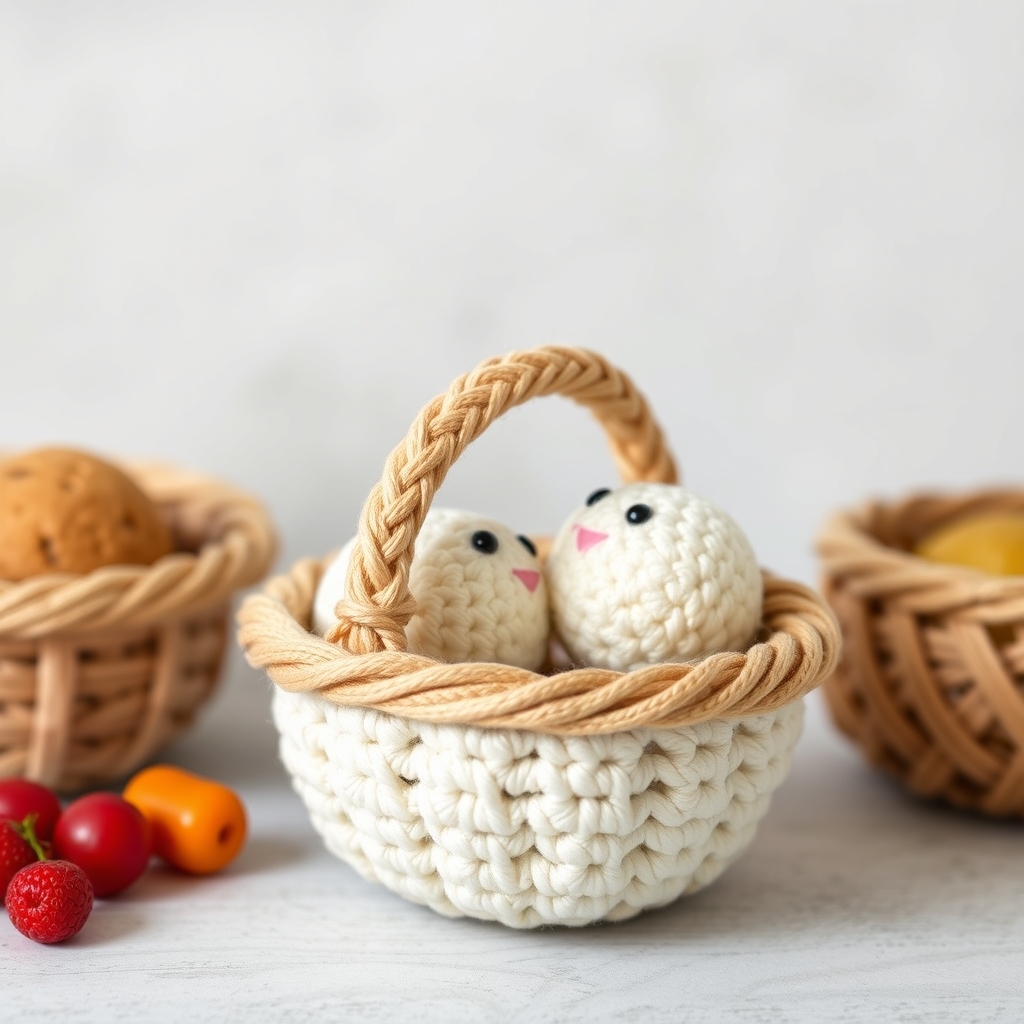
Finished Size: The dumpling will be approximately 3 inches (7.5 cm) tall. The basket will be approximately 2 inches (5 cm) tall with a 3.5 inch (9 cm) diameter. Please note these are estimates and can vary slightly based on your yarn, hook, and tension.*
Materials & Tools You’ll Need
Gathering your materials is the first step to bringing your Perfect Fit Dumpling & Basket to life. Here’s what you’ll need:
| Item | Details |
|---|---|
| Yarn for Dumpling | Worsted Weight (Category 4) yarn, approximately 50-70 yards. (e.g., light cream, pale yellow, or light brown) |
| Yarn for Basket | Worsted Weight (Category 4) yarn, approximately 40-60 yards. (e.g., natural, beige, or darker brown) |
| Crochet Hook | 3.5mm (E-4) |
| Stuffing | Polyester fiberfill |
| Yarn Needle | Also known as a tapestry needle, for weaving in ends. |
| Stitch Marker | Essential for working in continuous rounds. |
| Scissors | For cutting yarn. |
| Safety Eyes (Optional) | 6mm or 8mm, for an expressive dumpling face. Not recommended for items for children under 3. |
| Embroidery Floss (Optional) | Black, for embroidering facial features if not using safety eyes. |
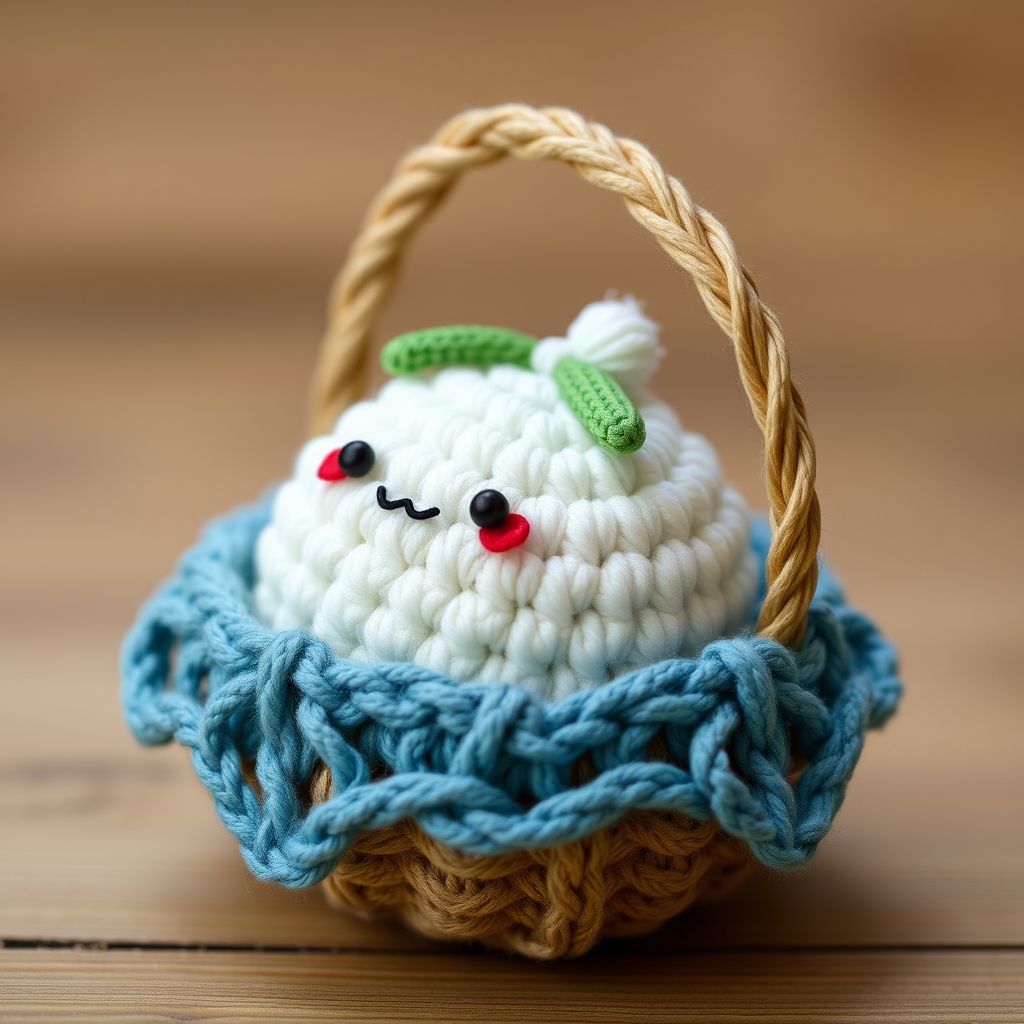
Remember that yarn yardage is an estimate. It’s always a good idea to have a little extra, especially if you plan to adjust the size or tend to use more yarn.
Understanding Gauge: Why It Matters for Amigurumi
You might hear “gauge” and think it’s only for garments, but it’s incredibly important for amigurumi too!
* No Gaps: Your stitches will be tight enough that the stuffing won’t show through.
* Consistent Size & Shape: Your finished dumpling and basket will match the intended dimensions, ensuring the “perfect fit.” If your gauge is off, your items might be too big, too small, or oddly shaped.
* Firmness: A good gauge creates a dense fabric that holds its shape well when stuffed.
Achieving the right gauge: While a formal swatch isn’t always necessary for amigurumi, pay attention to the tightness* of your stitches. If your fabric feels loose or you see gaps, try going down a hook size. If it’s too stiff or hard to work into, go up a hook size.
Abbreviations & Stitches Used
This Perfect Fit Dumpling & Basket pattern uses standard US crochet terms. If you’re more familiar with UK terms, here’s a quick conversion:
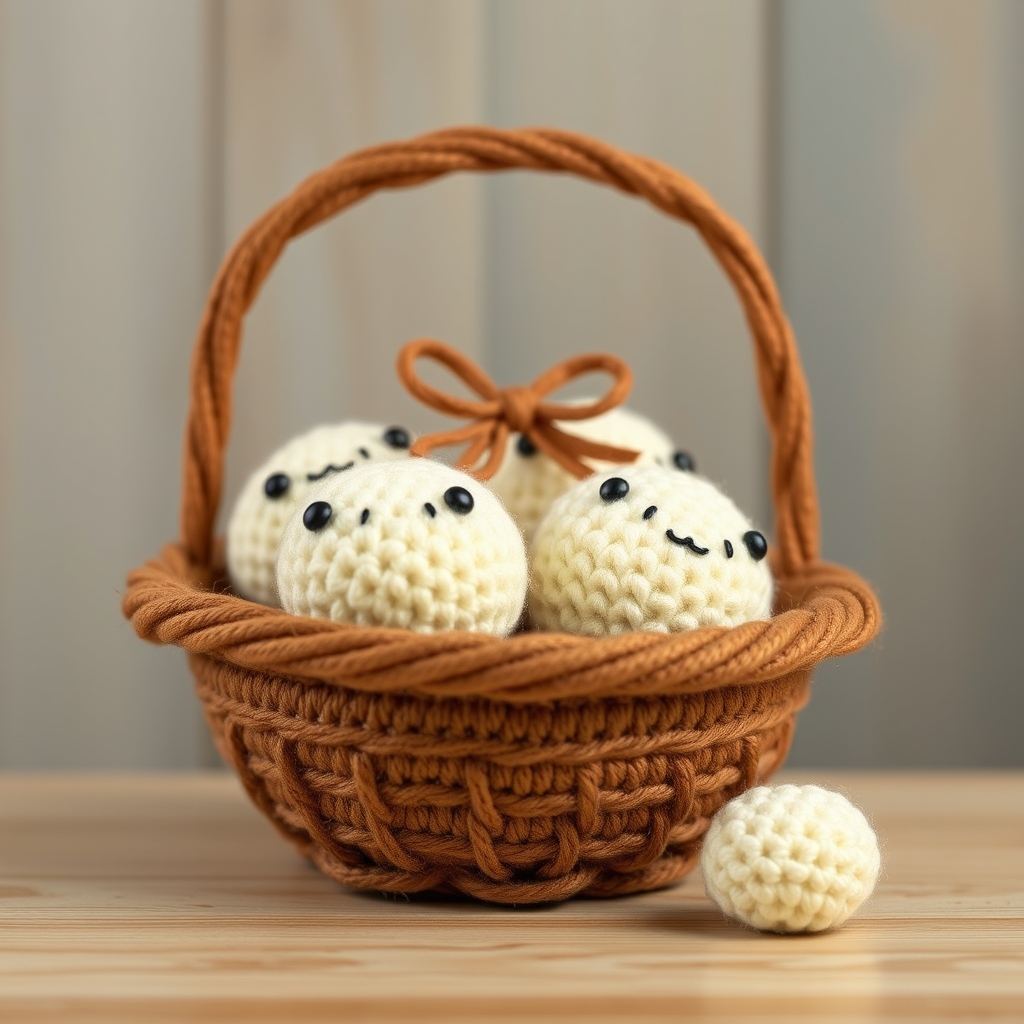
Here are the abbreviations you’ll encounter in this pattern:
Sizing & Adjustments: Customizing Your Dumpling & Basket
The beauty of crochet is its flexibility! While this pattern provides a standard size, you can easily adjust your Perfect Fit Dumpling & Basket to be larger or smaller.
Amigurumi Dumpling Crochet Pattern.
Let’s start crocheting your adorable dumpling! We’ll work in continuous rounds, so a stitch marker is your best friend.
Notes:
Body (starting at the bottom)
Round 1: Make a Magic Ring (MR), then sc 6 into the ring. (6 sts)
Round 2: Inc in each stitch around. (12 sts)
Round 3: (Sc 1, inc) repeat 6 times around. (18 sts)
Round 4: (Sc 2, inc) repeat 6 times around. (24 sts)
Round 5: (Sc 3, inc) repeat 6 times around. (30 sts)
Round 6-10: Sc in each stitch around. (30 sts) (5 rounds)
Round 11: (Sc 3, dec) repeat 6 times around. (24 sts)
Round 12: (Sc 2, dec) repeat 6 times around. (18 sts)
Now is a good time to start stuffing your dumpling firmly with polyester fiberfill. Ensure it’s evenly distributed to create a smooth, appealing shape.
Round 13: (Sc 1, dec) repeat 6 times around. (12 sts)
Round 14: Dec in each stitch around. (6 sts)
Fasten off, leaving a long tail for closing. Using your yarn needle, weave the tail through the front loop of each remaining stitch, then pull tight to close the hole. Weave in any remaining end.
Finishing the Dumpling
Perfect Fit Basket Crochet Pattern
Now, let’s create the perfectly sized basket for your dumpling! This basket is designed to be sturdy and hold its shape.
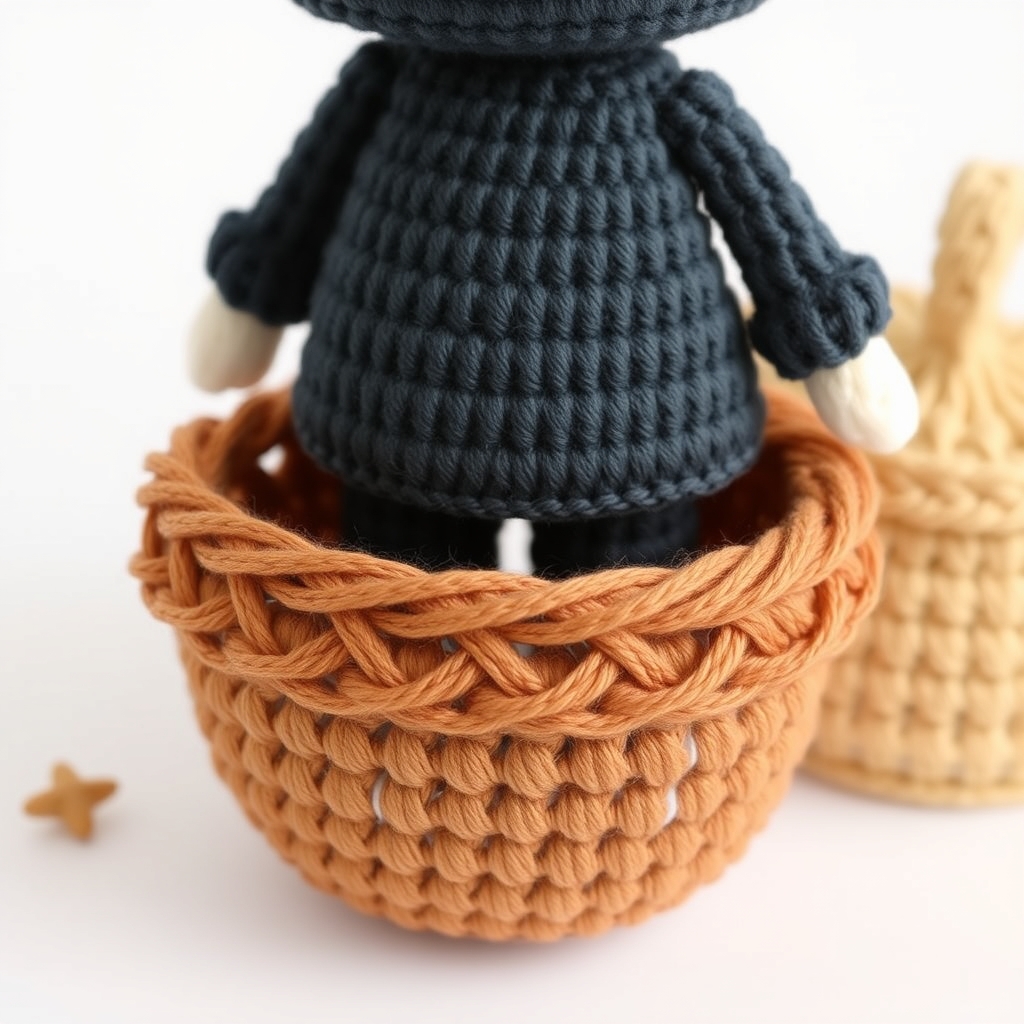
Notes:
Base
Round 1: Make a Magic Ring (MR), then sc 6 into the ring. (6 sts)
Round 2: Inc in each stitch around. (12 sts)
Round 3: (Sc 1, inc) repeat 6 times around. (18 sts)
Round 4: (Sc 2, inc) repeat 6 times around. (24 sts)
Round 5: (Sc 3, inc) repeat 6 times around. (30 sts)
Round 6: (Sc 4, inc) repeat 6 times around. (36 sts)
Your base should now be flat and about 3.5 inches (9 cm) in diameter.
Sides
Round 7: Sc in the back loop only (BLO) of each stitch around. (36 sts)
Working in the BLO for this round creates a defined edge, giving your basket a crisp bottom curve.
Round 8-12: Sc in each stitch around. (36 sts) (5 rounds)
Round 13 (Optional Decorative Edge): For a neat finish, you can either:
* Sl st in each stitch around.
* Or, try a reverse single crochet (crab stitch) in each stitch around for a rope-like edge.
Fasten off, leaving a tail. Weave in all remaining ends securely with your yarn needle.
Finishing Touches, Blocking & Care
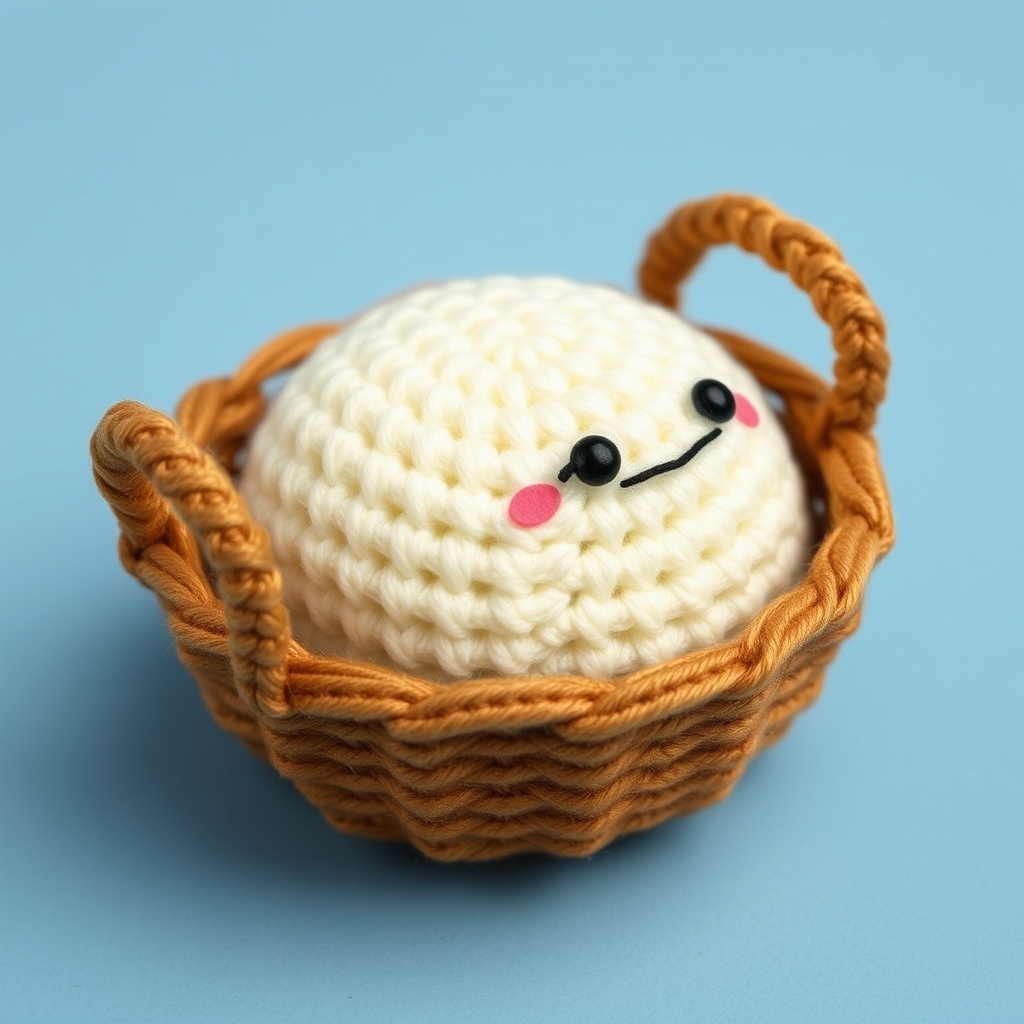
Congratulations, you’ve crocheted your Perfect Fit Dumpling & Basket! Now for those final steps to make them truly shine.
* Hand wash gently: Fill a basin with cool water and a small amount of mild detergent. Submerge your items and gently squeeze the soapy water through them.
* Rinse thoroughly: Rinse under cool running water until all soap is gone. Gently squeeze out excess water, being careful not to wring or twist.
* Air dry: Lay your dumpling and basket flat on a clean towel, reshaping them as needed. Allow them to air dry completely, turning occasionally. Avoid machine washing or drying, as this can distort their shape and damage the yarn.
Common Mistakes & Troubleshooting Your Amigurumi
Even experienced crocheters run into snags! Here are some common issues you might face with your Perfect Fit Dumpling & Basket and how to fix them:
* Fix: Try going down half a hook size (e.g., from 3.5mm to 3.0mm) or consciously try to crochet with tighter tension.
* Fix: Stuff small pieces of fiberfill at a time, pushing it into all areas, especially the curves. Use the back of your crochet hook or a chopstick to help push stuffing into tight spots.
* Fix: An alternative is to chain 2, then work all the required single crochets into the first chain. This creates a small hole, but it’s often negligible for amigurumi.
* Fix: Always use a stitch marker in the first stitch of each round. When you finish a round, count your stitches before moving on. If you find an error, unravel back to the mistake and correct it.
* Fix: Ensure firm, consistent stuffing.
Variations & Customization Ideas
The Perfect Fit Dumpling & Basket is a fantastic canvas for your creativity! Here are some ideas to customize your adorable duo:
Yarn Texture: Try using a fuzzy or chenille yarn for a super soft, cuddly dumpling, or a cotton blend for a more rustic basket feel. Just remember to adjust your hook size accordingly.*
Frequently Asked Questions
Q: What is the best yarn for a Perfect Fit Dumpling & Basket amigurumi?
A: For this Perfect Fit Dumpling & Basket pattern, a worsted weight (Category 4